
Help
This feature is located on the calendar and inside your events. This function allows you to synchronize your events to your PLNIFY mobile app users.
Syncing from the Calendar:
1 Go to your calendar.
2 Select the event(s) you would like to synchronize.
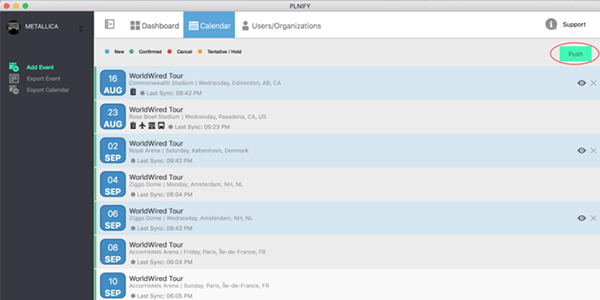
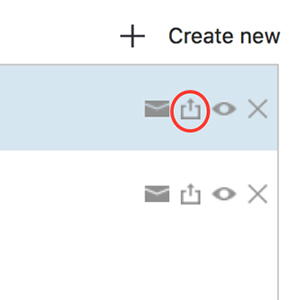
3 Then, Click “Push”.
Our sync “Push” allows you to synchronize the specific events you would like to push to your team, to avoid pushing incomplete information from other events.
1 How to multi-select on the calendar to sync:
Hold “Command + Click” on the events you would like to select.
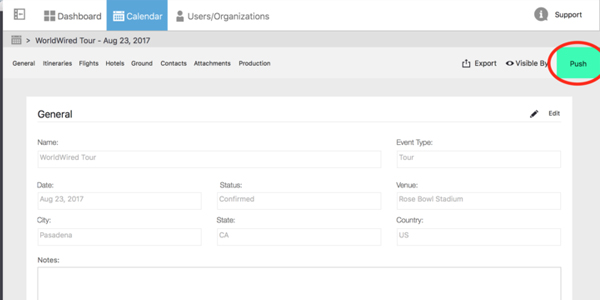
2 How to sync inside the event details:
Once you are ready to sync that specific event, click “Push”.
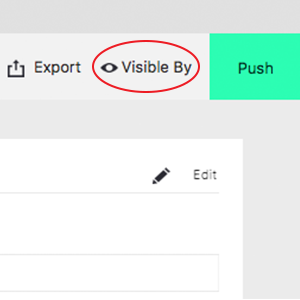
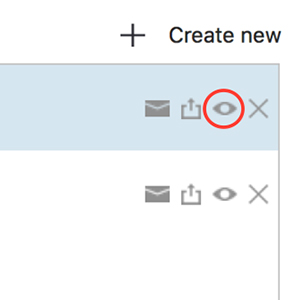
This feature allows you to filter who can view the events. It is located on the right side of your event menu bar.
1 Click on “Visible By”.
2 Select your group and double click to select and un-select users. Once you have your users selected click “Done”.
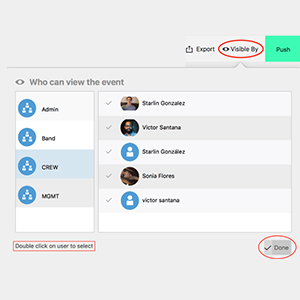
Visible by will help keep privacy and filter out events that are not intended for particular user(s).
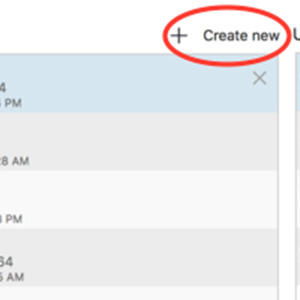
Ground is located inside of your events. With Ground you are able to create/assign ground transportation to your team members.
1 Click on “+ Create New”.
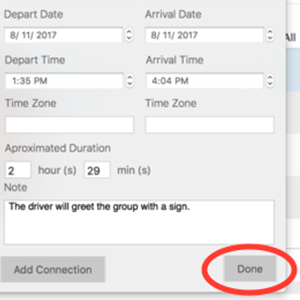
2 Fill out all ground information. Then click “Save”.
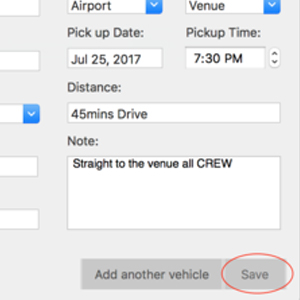
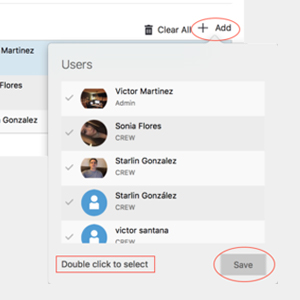
3 To add the Users, Click “+ Add” on the user side and double click on the users to assign them.
Hotel is located inside of your events. This function will allow you to create/assign hotels to your team members for your event.
1 Click on “Create New”.
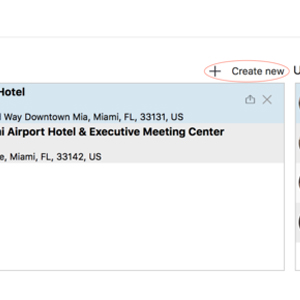
2 Add your hotel and fill out the information. Then, click “Save”.
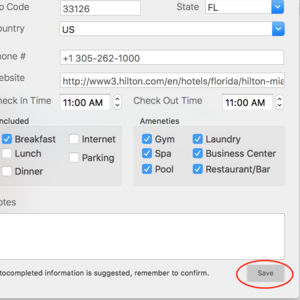
3 To add team members, click “Add” on the user side. Fill out the information. Check in and check out is required to add that user to the hotel reservation.
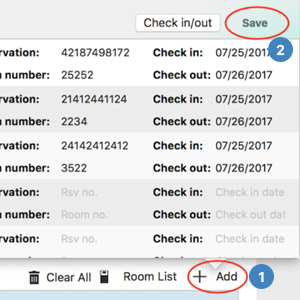
1 Export Hotel into another event.
This will allow you to export any hotel into another event.

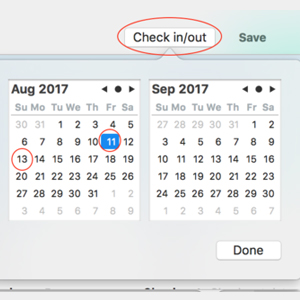
2 To add the same check in and check out to multiple users, (Command + Click) on the users to multi-select them. Then, click on check in and check out and select the dates.
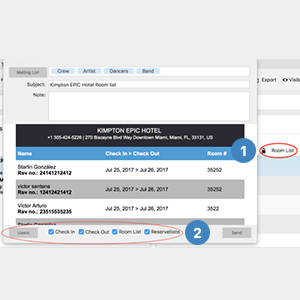
3 Export Hotel and Rooming List.
This will allow you to email all hotel information, allowing you to edit what information you would like to share.
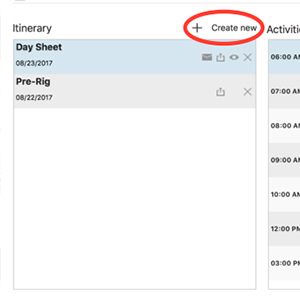
Itinerary is located inside of your events. You are allowed to create multiple itineraries for each event and have control of which itinerary can be view by specific groups/users.
1 Click on “Create New”. Then name your itinerary.
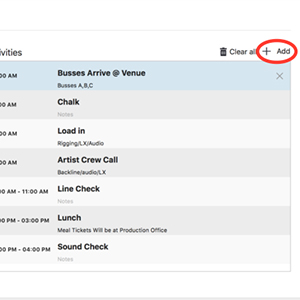
2 On the activity side, click “Add” to build your itinerary.
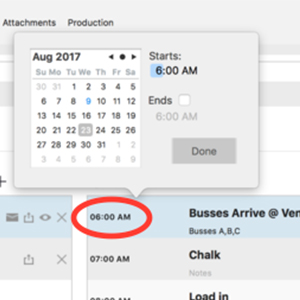
1 How to create time blocks? Click on the time and select your start and end time.
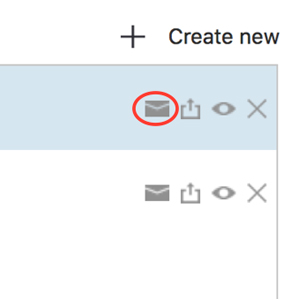
2 Export Day sheet, this allows you to print or email your day sheet.
3 Export to another event, this will allow you to export the itinerary into another event.
4 Visible by, allows you to have control over which group you want that itinerary to be seen by.
Flight is located inside of your events. With flights you are able to create/assign flights to your team members.
1 Click on “+ Create New”.
2 Fill out all flight information. Then click “Done”.
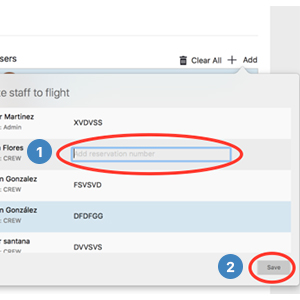
3 On Users, Click “+ Add” and enter the flight reservation number for your users. Once you put in the flight reservation number, hit “Enter” to validate the field. Once you input all the flight reservation numbers click “Save”.
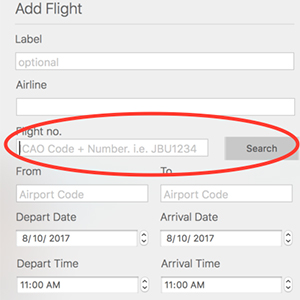
Use the search to locate your flight from our API, this will auto fill the flight information.
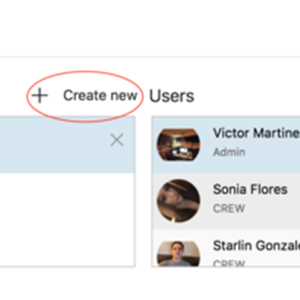
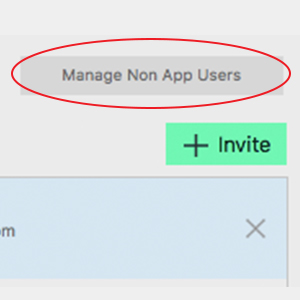
This function is located on the top of the “Invite” button. This will allow you to add users to your organization that will not necessarily use the mobile app but will still receive information via email.
1 Click on “Manage Non App Users”.
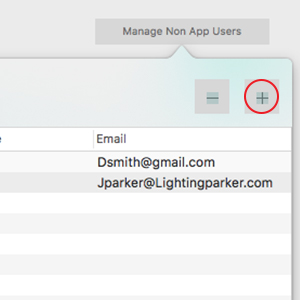
2 Click on “+” to add the users.
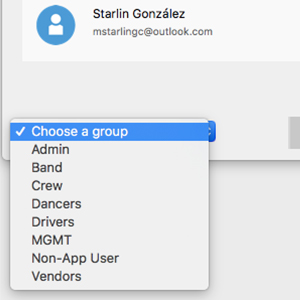
This function is located in Users/Organizations. This will allow you to create groups to organize and separate your users.
1 Click on “+ Add”.
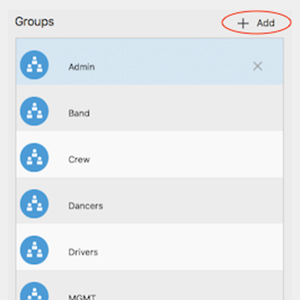
2 Name your group, then click “Save”.
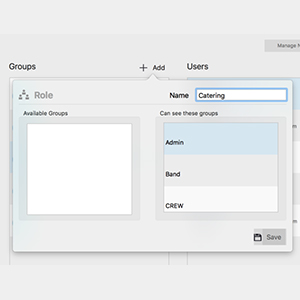
You are able to filter privacy between groups, so specific groups are not visible by each other.
This function is located in Users/Organizations. This allows you to create/manage multiple accounts.
1 Click on “Add” to create a new organization.
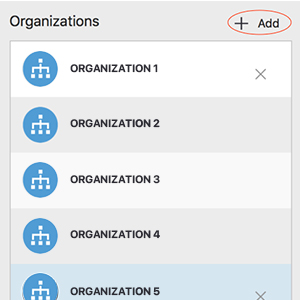
2 Name the organization and choose an image.
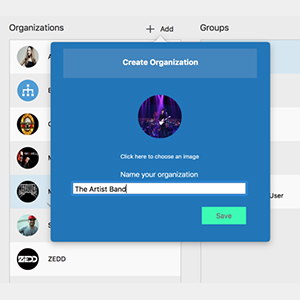
3 Then click “Save”.
This function will allow you to invite anyone to join your organization.
1 Go to “Users/Organizations” located in your top menu.
2 Click on “Invite” and search your users by email or name.
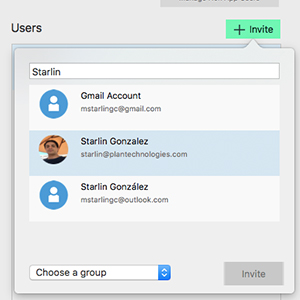
3 Once you find your user, select the user and choose the group you would like to assign them to. Then click “Invite”.
1 Before inviting users, create all your groups. This will allow you to assign your users faster.
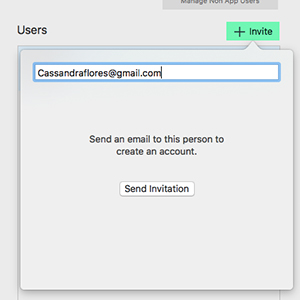
2 If a user doesn’t have an existing account on PLNIFY, you can still use “Invite” to send an invitation to the user’s email to download the PLNIFY app. The user will receive an email with the link to download PLNIFY.
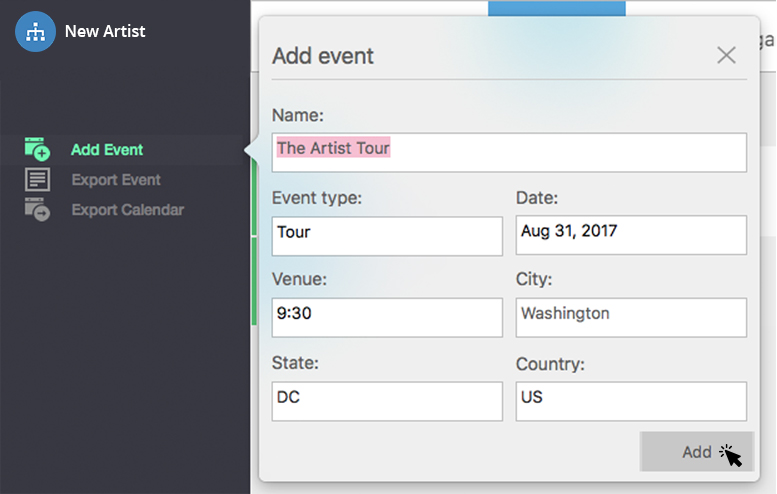
This function allows you to add the events to your calendar.
1 “Add Event” is located in your tool bar to the left of your screen.
2 Click on “Add Event”
3 Fill out all details, then click “Add”.
When adding the Event, if the venue is not on the list, click “Add Venue” to add it to the data base.
Recent Comments